By Matt Anderson
Like the old golfing quote, your stance can be either too far away from the ball or too close. With sloping strips it can feel the same, in that you either feel too high, or you realise you’re too low on short finals.
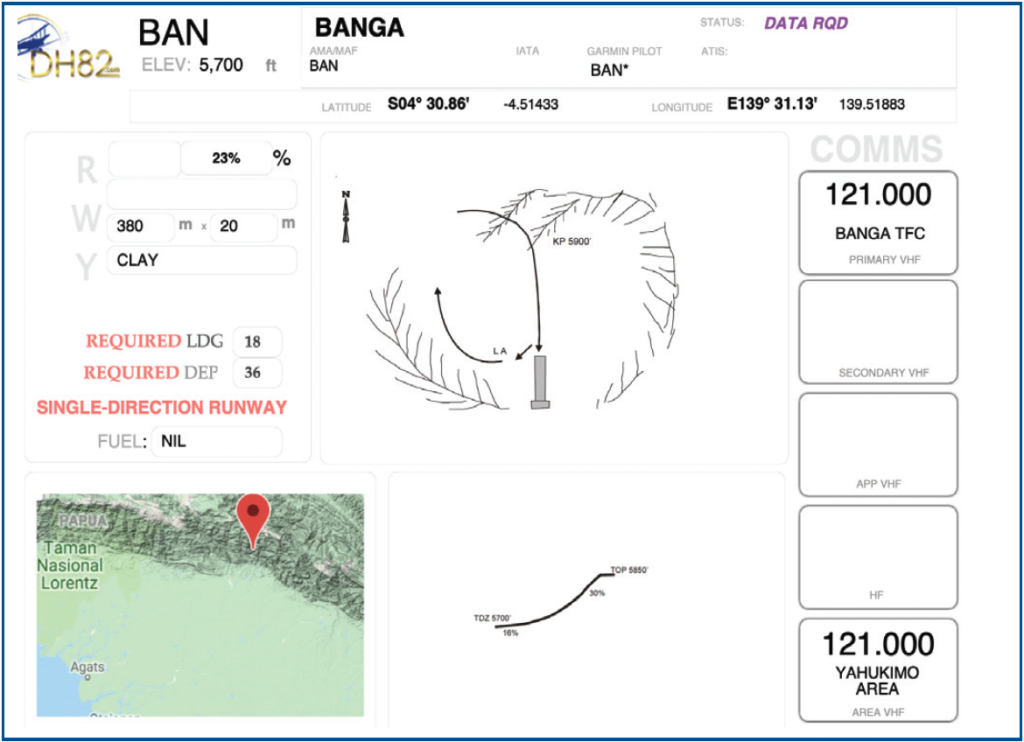
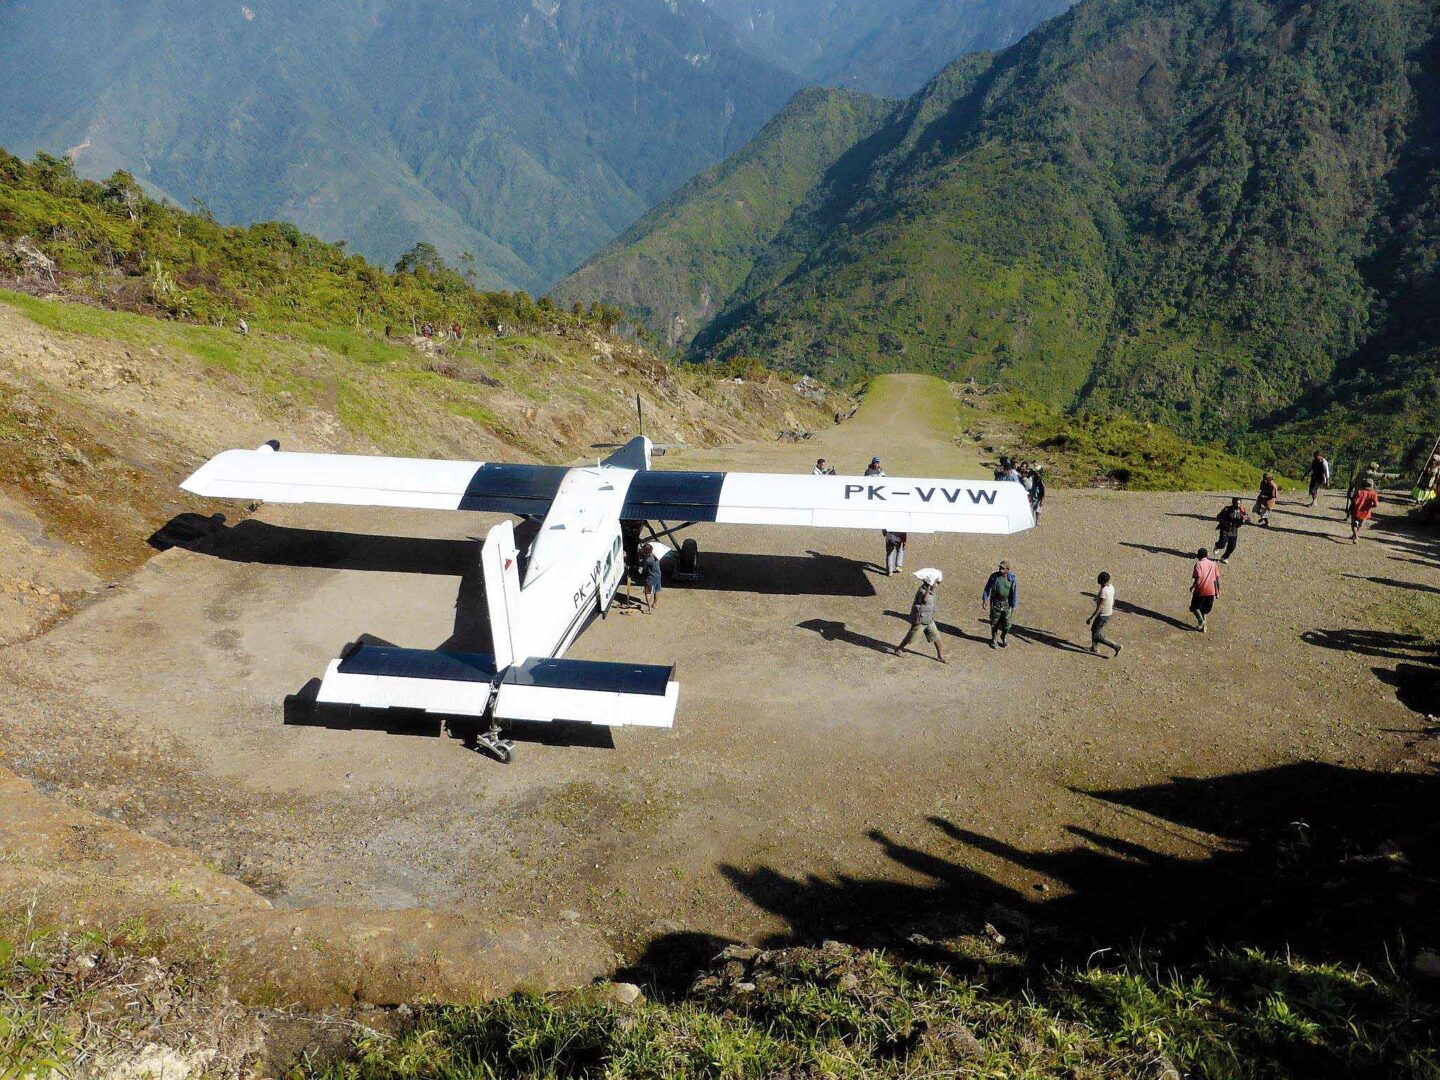
While I don’t claim to be an expert, over the years I’ve spent flying in West Papua, I’ve done a lot of steep slope landings on some of the highest and steepest strips anywhere, and have worked out what suits me best. Others may have different techniques. In fact, I was trained by an ag pilot who used lower stalking approaches with a lot more power. However, I’ve seen the results of these going wrong. Also, overly high approaches that lead to panic on short finals and can result in over-run. Hopefully a few pointers here may help keep you on the right path.
So the question is how to get it right. Practise a lot, and start with shallow sloping paddocks and strips that can provide a good starter to more slope. Bear in mind that each aircraft is different, and that these notes have been written with a fully loaded aircraft in mind, at max AUW, which is what I’m used to. Initially it’s best to use an approach configuration and angle that you’re used to, then adjust as need be as the slopes increase.
Let’s assume you can already land on a predetermined spot – or very close to it – with regularity. First rule is that, generally, all sloping strips have no go-around option. So unless you have lots of excess power with a lightly loaded aircraft, or the strip levels out on top or has an escape valley to drop into off the side, then give away any thoughts of a go-round. Hopefully you’ve seen the strip from the air and been briefed on basics such as length, size, slope, touchdown zone, go around options, obstacles, etc.
Another good pointer for checking slope or rise on a new airstrip is to fly across the airstrip at right angles in both directions. This will be a good indicator of the slope. One direction always looks different to the other. Even on flat ground, flying one direction across a strip can give a different slope perception than going the opposite way. Many farm airstrips have more than one slope or undulating slope angles, so a touchdown area needs to be decided on. Often there can be an ideal touchdown area between two steeper areas, or a nice slope to touchdown on before a flatter section.
Plan a nice long approach and set up early. All too often with groups, the planes bunch up and base legs are cut short, leaving little time and room to set up well. Hold an aim point at a constant spot through the windshield which will be before the touchdown area, assuming the flare will take 20-50m. Always have power on and be in a stable approach. By this I mean have your approach attitude/speed set with elevator position and descent controlled with power. For most strips with 10-20% slope, I work on descents of 2-400fpm. This is adjusted with load, and any wind conditions at the time. Lower than this and you’ll need more power, which will leave fewer options when extra power could be required (down-draught). Any higher than 500fpm, and your round-out will be much bigger than necessary and it will be harder to hit the landing spot.

As mentioned above, aircraft type and load will play a part in determining which descent profile works best on each slope. The main point here is to have a stable approach profile. Steep strips require either more airspeed or power to flare (or a combination of both). Five knots extra is a good start point to flare and round-out and for momentum to the top. Extra power may also be required during flare to cushion the round-out and make a smoother touchdown rather than a rough arrival. If done well, approach power will be left on during flare to fly onto the slope. On steeper strips more than 20% slope, I always use 2/300fpm with a double flare. Initially flaring to level attitude to kill the descent, a second or two to assess arrival and touchdown, then re-flare onto the slope.
Once practised this whole flare can merge into one, but it works just as well in two stages. As strips become steeper and shorter, aim points before threshold are needed, as flaring will take far more room. As I’ve recently witnessed, if at any point, approach power is pulled right off (in calm conditions), then you’re not stable and have a problem. Gliding onto any strip, let alone a slope, means you’re well above the ideal descent profile and running out of options fast. A puff of wind up the rear at this stage can leave you right in the crap, or at least creating it.
Make abort decisions early if unstable and high with no power on. Obviously, landing at any challenging airstrips should ideally be done in calm conditions. With any winds it’s even more important to stay on profile to get to your landing spot. Once touchdown is complete and flaps up, keep power on for momentum to reach the top or parking area. Good judgement is required here, as you don’t want to be too slow, but also need to keep speed up to reach the top.
Knowing your aircraft and having a feel for load on board is important for any sloping landings. Typical mistakes are: 1. Poor approach and setup. Unstable, as above. 2. The common illusion of being too high, when in fact you’re probably about right if your aim point and attitude/speed is set, and your descent rate is where you want it with some power on. Thinking you’re high can result in reducing altitude then realising the aircraft is behind the power/drag curve and too low, needing a lot of power just to make the threshold. 3. Cutting power before flare, as it looks like you’re high. This happens often and is a difficult thing to learn when the visual cues don’t match what is happening. On a good stable approach you’ll need power on all the way until touchdown, not only for round-out, but to keep momentum up the slope.
Slope landings require constant practice. Add in tailwinds, crosswinds, up- and down-draughts, and you have a demanding situation. With full loads and a heavy aircraft, speed, some altitude, and some power is required at all times. Lose any one of these three key factors and you need action immediately.
These tips are only a guide, so get out and practise to see what works best for your aircraft and load.
This article first appeared in the Winter 2021 edition of Approach Magazine, the dedicated magazine of AOPA NZ, which is published quarterly.

